


If you’re searching for the best RV window insulation methods, you’re not alone. Whether you’re battling scorching summer heat or winter’s chill, your RV windows play a crucial role in your comfort level and energy costs.
Let’s explore how to tackle these challenges and create a more comfortable living space in your RV all year round.
Understanding RV Window Heat Transfer
Your RV’s windows are one of the biggest factors in temperature regulation. During summer months, single-pane windows allow solar radiation to pour in, creating a greenhouse effect that can make your RV unbearably hot. The glass conducts heat directly into your living space, making your air conditioning work overtime.
In winter, these same windows become a major source of heat loss. When your windows feel cold to the touch, that’s a clear sign that your expensive heat is escaping through them. This heat loss not only makes your RV feel drafty but also increases your heating costs and puts unnecessary strain on your heating system.
Proper insulation creates a barrier that helps manage these temperature extremes. It reduces heat transfer in both directions, helping keep your RV cooler in summer and warmer in winter. Good insulation can also help manage condensation, which is particularly important for preventing mold and mildew problems in your RV.
Year-Round RV Window Insulation Solutions
When it comes to insulating RV windows effectively, there are several tried-and-true methods that experienced RVers rely on throughout the year. These insulation solutions can be used individually or combined for maximum effectiveness. Let’s look at some of the most popular options that work well in any season.
1. Reflectix and Bubble Foil Insulation
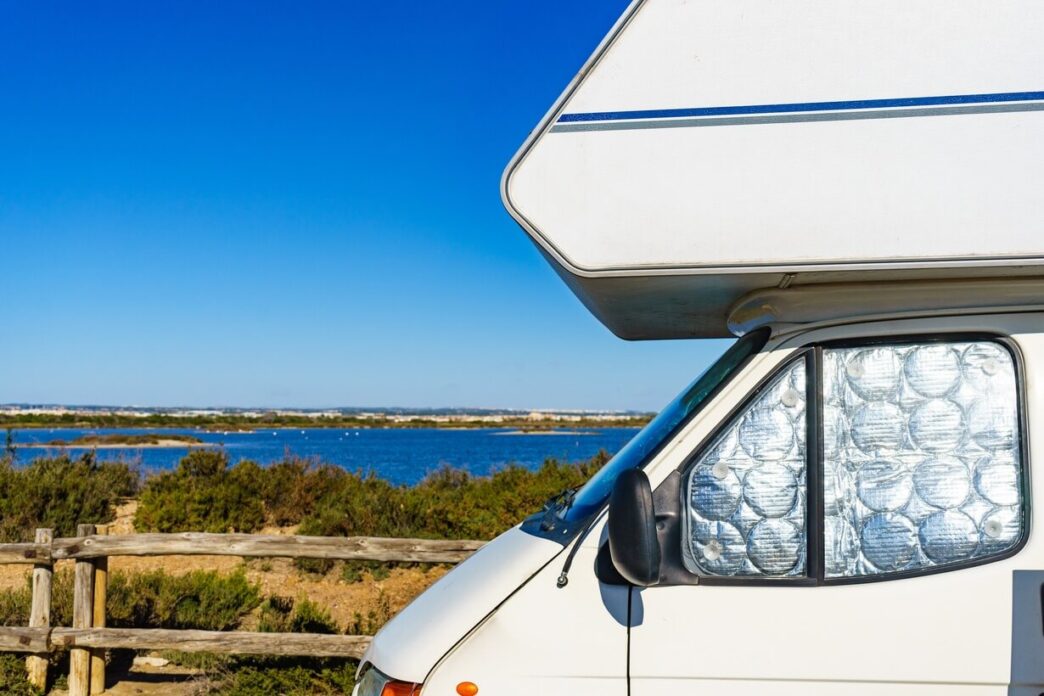
One of the most popular insulation options among RV owners is Reflectix, a bubble wrap material with foil on both sides. This material is lightweight, easy to work with, and provides excellent insulation properties. In summer, it reflects sunlight and heat away from your RV. In winter, it helps trap warm air inside.
However, there’s an important consideration when using Reflectix: placement matters. While many RVers install it on the inside of their windows, this can potentially cause problems. When used on the inside during hot weather, it can cause windows to heat up to the point of cracking. For best results, consider placing Reflectix on the outside of your windows during extreme heat.
A creative solution some RVers use is installing Reflectix inside window shade panels. This allows you to raise and lower the shades as needed while maintaining the insulation benefits. The downside? Reflectix completely blocks light, which isn’t ideal if you enjoy natural illumination in your RV.
2. Window Films
Window insulation film provides a clear solution for those who want to maintain their view while adding insulation. These kits typically include a clear plastic film and double-sided tape. Installation is straightforward: you apply the tape around the window frame, attach the plastic, and use a hairdryer to shrink it tight, removing wrinkles and creating an air seal.
The trapped air between the film and window creates an insulative barrier that works in both summer and winter. While not as effective as some other methods, window film has the advantage of being nearly invisible once installed. It’s also relatively inexpensive and can be easily removed when no longer needed.
3. Plexiglass Solutions
For more heavy insulation, consider creating storm windows using plexiglass. While this option requires more initial investment and effort, it provides excellent year-round insulation while maintaining full visibility through your RV windows.
Plexiglass can be purchased from most building supply stores and cut to size. You can attach it using clear acrylic mounting tape or Velcro, creating an additional pane that traps insulating air between it and your existing window. This solution is particularly effective for larger windows where other options might be impractical.
The results speak for themselves: RVers who use plexiglass often notice significantly less condensation and better temperature control. While the initial cost is higher than other options (around $45 for a 24″ x 48″ sheet), the durability and effectiveness make it a worthwhile investment for many.
4. Thermal Curtains and RV Window Insulation Shades
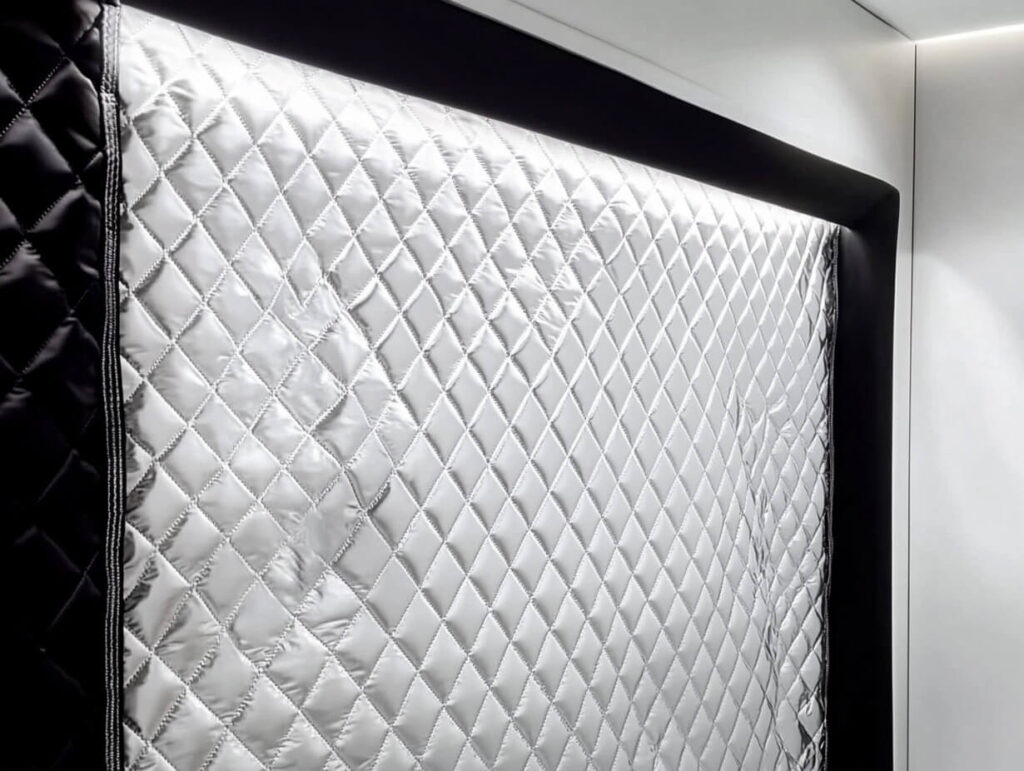
Adding thermal curtains or insulated RV window shades provides both temperature control and style. These can be used alone or in combination with other insulation methods for maximum effectiveness. Look for heavy-duty curtains specifically designed for temperature control, or consider making your own insulated curtains using materials like quilted mattress covers and aluminum foil.
For maximum effectiveness, make sure that your curtains cover the entire window area and create a good seal around the edges. Many RVers find that combining thermal curtains with other insulation methods provides the best results while maintaining the ability to control light and privacy.
Season-Specific RV Window Insulation Options
While many insulation methods work year-round, some techniques are particularly effective for specific weather conditions. Understanding these seasonal approaches can help you adapt your RV’s insulation strategy as the weather changes throughout the year. Here’s how to tackle both summer heat and winter cold.
Summer Cooling Strategies
During hot weather, your primary goal is reflecting heat away from your RV before it enters. External shade options and reflective materials work best for this purpose. Consider placing insulation on the outside of your windows during extreme heat to prevent window damage and maximize cooling efficiency.
UV protection becomes particularly important in summer, not just for temperature control but also to protect your RV’s interior from sun damage. Window tinting can help with this while also providing some insulation benefits.
Winter Warming Techniques
Winter brings its own set of challenges, primarily preventing heat loss and managing condensation. Interior insulation methods often work better in cold weather, as they help trap warm air inside your RV. Bubble wrap can be an effective and inexpensive solution for winter insulation. Simply dampen your windows and apply the bubble wrap with the bubble side facing the glass. While this method doesn’t allow clear visibility, it does let some light through while providing good insulation.
Author Note: Draft prevention becomes crucial in winter. Check and seal around your windows to prevent cold air infiltration. Remember that cold windows can create condensation problems, so proper ventilation and possibly a dehumidifier might be necessary to prevent moisture-related issues.
Why Placement Matters
Where you set up your window insulation can be just as important as the type you choose (interior vs. exterior). Each location has its own advantages and challenges. Understanding these differences will help you make the best choice for your specific situation.
Interior Installation
Installing insulation on the interior of your RV windows provides easy access for adjustments and cleaning. It also protects your insulation materials from weather damage. However, interior installation can contribute to condensation problems in some cases, particularly with materials like Reflectix that prevent airflow to the window surface.
Exterior Installation
External installation can be more effective for reflecting summer heat but requires weather-resistant materials and secure attachment methods. HVAC foil tape works well for external applications, as it performs well in extreme temperatures and removes cleanly when needed.
Permanent Options
For RVers looking for more permanent or sophisticated window insulation options, there are several higher-end solutions to consider. While these options typically require a bigger investment, they can provide superior performance and convenience compared to basic solutions.
Upgrade Your Window

While most RVs come with single-pane windows, upgrading to double-pane windows is possible. This provides excellent insulation but can be expensive and might affect your RV’s warranty. If you’re considering this option, carefully weigh the costs and benefits for your situation.
Purchase Custom Window Insulation
Several companies offer custom-made insulation solutions for RV windows. These might include removable vinyl covers with Velcro attachments or magnetic systems that allow easy installation and removal. While more expensive than DIY options, these products often provide excellent results and professional appearance.
Maintenance & Care
Regular inspection of your window insulation is important for maintaining effectiveness. Check seals and attachments periodically, clean your windows and insulation materials as needed, and store removable insulation properly when not in use.
Pay particular attention to signs of moisture accumulation, which could indicate the need for adjustments to your insulation strategy.
Cost Analysis
Window insulation options range from very affordable (like bubble wrap) to more expensive (like double-pane window upgrades). Consider your climate, camping style, and budget when picking one.
Remember that effective window insulation can provide substantial savings on heating and cooling costs over time, so sometimes it’s better to rip the bandaid off early for a more affordable (and pleasant) long term experience.
Choosing the Best RV Window Insulation Solution
The best RV window insulation method for your camper depends on several factors:
- Your typical camping climate
- How often you move your RV
- Your budget
- How important natural light and visibility are to you
Many RVers find that combining multiple methods provides the best results. For example, you might use plexiglass on large living area windows while using simpler solutions for bathroom or bedroom windows.
Closing Thoughts
Proper RV window insulation can dramatically improve your camping experience in both hot and cold weather. Whether you choose simple DIY solutions or invest in professional upgrades, the key is finding the right balance of effectiveness, convenience, and cost for your situation.
Remember that you can always start with basic options and upgrade over time as you learn what works best for your specific needs!