


Learning how to install RV hookups at home can open up exciting possibilities for your property. While installing RV hookups at home might seem like a daunting project at first, it’s actually quite manageable with proper planning.
Why Consider Installing RV Hookups At Home?
Your parked RV can be much more than just a vehicle waiting for its next adventure. Many homeowners discover their RV makes an excellent guest accommodation, offering visitors the perfect blend of comfort and privacy. It’s often preferable to a spare bedroom, as guests have their own space complete with bathroom and kitchen facilities.
Some owners find their RV makes an ideal temporary living space during home construction or renovations. Instead of paying for expensive short-term rentals or imposing on family members, you can live comfortably on your own property while work is being completed.
There’s also potential for generating income. When you’re not using your RV for travel, you could rent it out as a short-term vacation rental or even as longer-term accommodation, depending on local regulations. This can help offset the costs of installation and provide a steady stream of extra income.
The Planning Phase
Success starts with thorough planning. Before you purchase a single piece of equipment or dig any trenches, several crucial steps need attention.
First, contact your local authorities. Every jurisdiction has different requirements regarding RV hookups and usage. Some areas restrict how long an RV can be occupied, while others have specific requirements for utility connections. You’ll need to understand these regulations and obtain any necessary permits before starting work.
Next, carefully consider the location. Look for a spot that offers easy access for driving and parking your RV. Remember, you’ll need enough space to maneuver, especially if you have a larger rig or travel trailer. Check for overhead obstacles like tree branches or power lines that could cause problems.
Once you’ve chosen your location, mark it out with flags to visualize the space. Your marking should include not just the RV pad area but also the planned routes for utility lines. This is when you absolutely must contact utility companies to mark existing underground lines. This service is often free and can prevent costly and dangerous accidents during installation.
Make Sure The Parking Spot Is Ready
A proper parking spot is essential for long-term RV storage. Without one, your RV could sink into soft ground during wet seasons, creating all sorts of problems with leveling and stability. You have two main options: gravel or concrete.
Gravel Pad Installation
A gravel pad is often the more budget-friendly choice. Start by measuring an area that extends about four feet beyond your RV’s dimensions on all sides. This extra space provides a stable walking area around your vehicle and makes maintenance easier.
The process begins with excavation. Dig down 4-6 inches, making sure to level the bottom of the excavated area thoroughly. This is where many DIYers make their first mistake by skipping an essential step: installing filter cloth (also called landscape fabric) before adding gravel. This fabric prevents the gravel from mixing with the soil below and helps maintain proper drainage.
For the gravel itself, use #57 washed gravel. This specific type provides excellent stability and drainage. Avoid pea gravel at all costs, as it will shift under your RV’s weight and create unstable areas. Also steer clear of recycled concrete, which often contains metal debris that could damage your tires.
Concrete Pad Option
While more expensive, a concrete pad offers the most permanent and stable solution. The process starts similarly to a gravel pad, but you’ll need to dig deeper (about 9-10 inches) to accommodate both a gravel base and the concrete layer.
Install filter cloth first, then add about 4 inches of compacted gravel as a base. The concrete layer should be 5-6 inches thick. Consider adding wire mesh or fiber reinforcement to prevent cracking and increase the pad’s longevity.
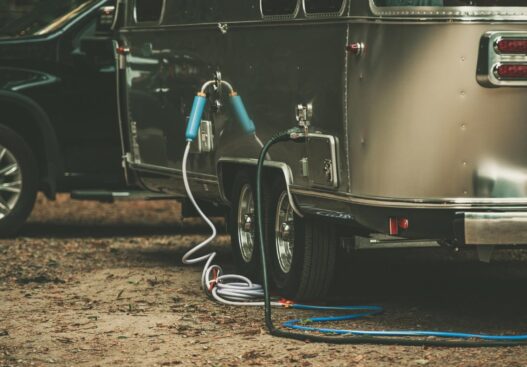
Setting Up Your Utility Infrastructure
When installing RV hookups at home, one of the first steps is to set up a proper utility infrastructure. The process of how to install RV hookups at home starts with establishing a sturdy utility post near your pad. Use a pressure-treated 4×4 post set at least 30 inches deep in concrete. The post should extend about 3 feet above ground and be positioned on the correct side of the pad to make hookups convenient.
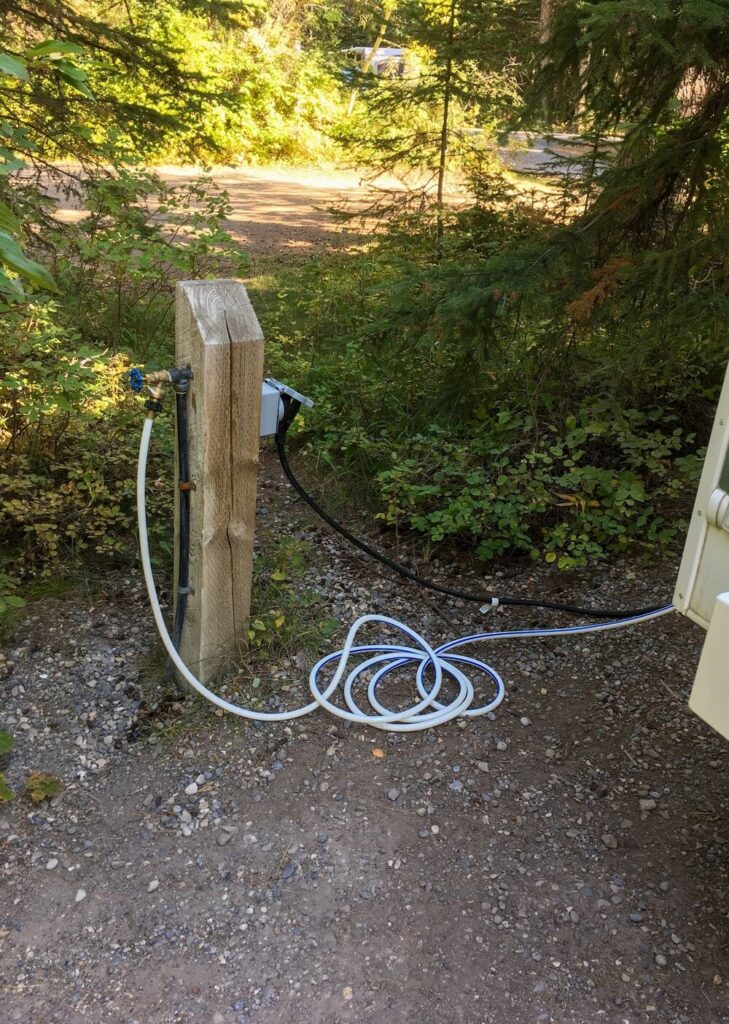
1. Water Hookup Installation
Installing water service requires careful planning to prevent freezing and ensure reliable operation. Start by determining your area’s frost line depth. You’ll need to bury water lines below this depth to prevent winter freezing.
The process begins with trenching from your home’s water supply to your utility post. Use CPVC piping for the water line, and be sure to install a shut-off valve at the connection point to your home’s water supply. This allows you to cut off water to the RV without affecting your house.
Any exposed pipe above ground needs protection from freezing. Wrap these sections with heat tape and secure them properly to your utility post. Install a spigot at the appropriate height for easy RV connection.
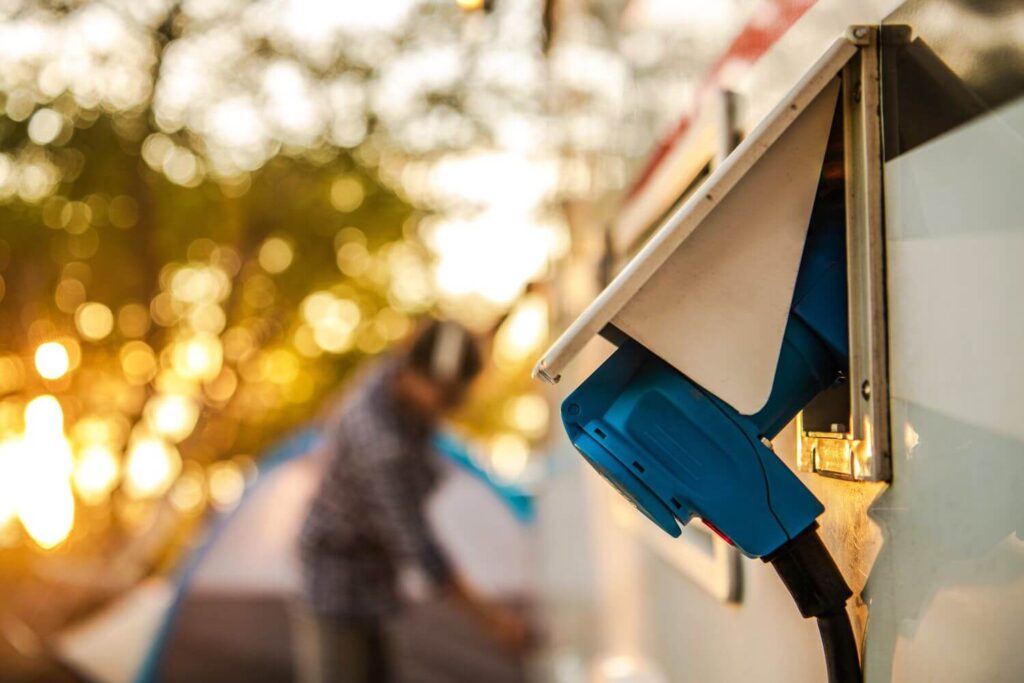
2. Electrical Installation
This is where DIY enthusiasm should give way to professional expertise. RVs typically require either 30 or 50 amp service, and improper installation can be dangerous or even fatal. A licensed electrician can:
- Determine your exact power requirements
- Select the appropriate wire gauge
- Install proper circuit breakers
- Ensure all connections are weather-protected
- Meet local electrical codes
The electrician will need to run appropriate wiring from your home’s electrical panel or a sub-panel to your RV location. While you can save money by digging the trench yourself, let the professional handle all electrical connections.
Don’t forget surge protection. RV appliances are expensive to replace, and a good surge protector is essential for protecting your investment.
3. Sewer Connection Options
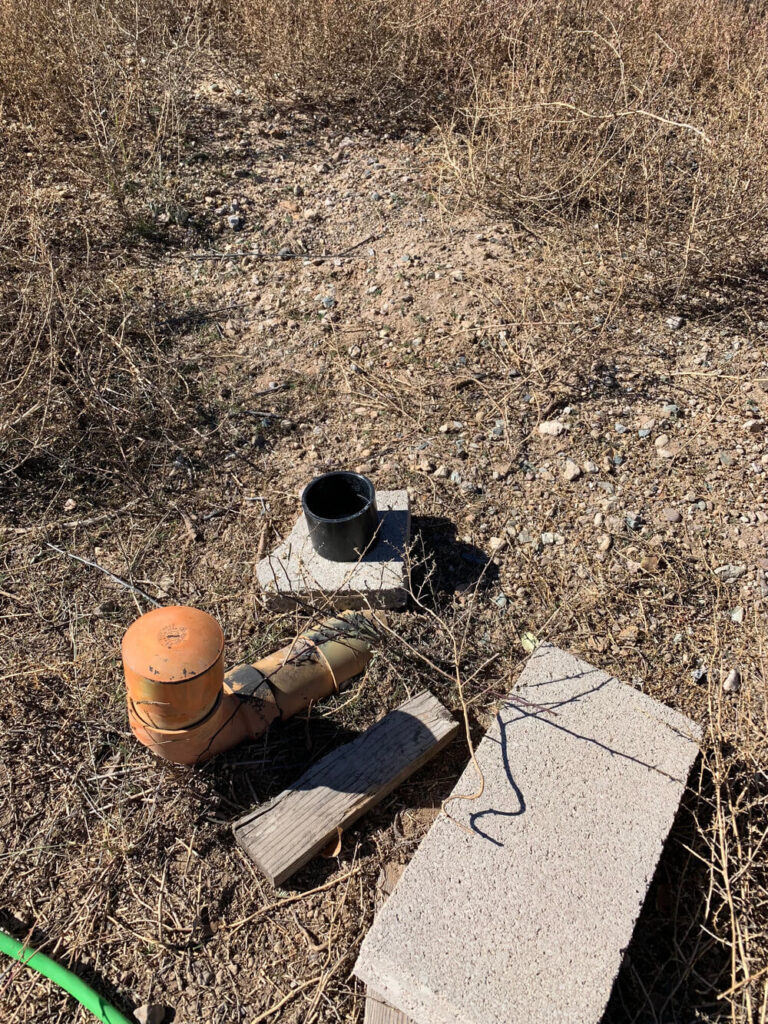
You have several choices for handling waste water, each with its own considerations:
- Public Sewer Connection: If your home connects to a public sewer system and local laws permit, you can often connect directly to your home’s sewer cleanout. This is typically the simplest and most cost-effective solution.
- Septic System Connection: For homes with septic systems, you might need to install a dedicated 4-inch pipe from the septic tank. This pipe should terminate with a screw-on cap for easy access. Consult with a septic professional to ensure your system can handle the additional load.
- Dedicated RV Septic Tank: While the most expensive option, installing a separate tank specifically for your RV provides the most independence. However, remember you’ll need regular pump-outs to maintain the system.
- Alternative Solutions: Some RV owners opt for composting toilets, eliminating the need for traditional sewer hookups. While the initial cost might be higher than simple sewer connections, they can save money long-term and are more environmentally friendly.
Understanding Your Investment: A Cost Breakdown
When planning to install RV hookups at home, it’s important to understand the potential costs involved. Installation costs for home RV hookups vary significantly based on your location, chosen materials, and how much work you can do yourself:
Water Hookups:
- DIY Installation: Around $30-100 for materials
- Professional Installation: $500-750
- Major cost factors: Pipe length, frost line depth, terrain
Electrical Installation:
- DIY-ready portions: $100-200 for materials
- Professional Installation: $800-1,200
- Major cost factors: Distance from panel, amp service required
Sewer Options:
- Existing System Connection: $0-200
- New Septic Tank Installation: $2,000-3,500
- Major cost factors: System type, distance, local regulations
Maintenance & Long-term Care
Regular maintenance is crucial for keeping your RV hookups safe and functional over time. A good maintenance routine will protect your investment and prevent costly repairs down the road.
Your water system requires consistent attention throughout the year. Make it a habit to walk your water line monthly, checking for any signs of leaks or damage. Pay special attention to connection points and exposed piping, as these areas are most susceptible to problems. Before winter arrives, thoroughly inspect your heat tape to ensure it’s working properly. If your system sits unused for extended periods, flush the lines completely before using them again to clear out any stagnant water or debris.
The electrical system needs regular oversight to maintain safety and functionality. Each month, test your GFCI protection to ensure it’s working correctly. This simple test could prevent dangerous electrical situations. Inspect all electrical connections at least twice a year for signs of corrosion or wear, especially if you live in a humid climate. Keep the area around your utility post clear of vegetation, as growing plants can interfere with connections and create moisture problems. Remember to test your surge protector regularly; this device is your first line of defense against electrical damage to your RV’s systems.
Your sewer system demands particular attention to maintain sanitary conditions and proper function. If you’re using a septic system, establish a regular pumping schedule based on your usage patterns. Don’t wait until problems arise to have your tank serviced. After each time you use your RV’s sewer connection, clean all the fittings thoroughly. This prevents buildup that could lead to clogs or connection problems. Regular inspection of all sewer lines and connections helps catch small issues before they become major problems.
Final Considerations
When planning how to install RV hookups at home, it’s important to think about future needs and potential property value impacts. Installing RV hookups at home is an investment in your property’s functionality. A well-designed system can add value to your property and provide flexibility for various uses. Consider leaving room for expansion or additional hookups if you might want to accommodate multiple RVs in the future.
Document all installations, especially professional work, and keep records of any permits obtained. This documentation can be valuable for property resale or insurance purposes.
Remember that while some aspects of RV hookup installation can be DIY projects, others require professional expertise. Never compromise on safety to save money, particularly with electrical work. When properly planned and executed, your home RV hookups will provide years of convenient use and significantly expand the possibilities for your RV.
With proper installation and maintenance, your RV hookups can transform your property into a more versatile space while potentially adding value to your home. Whether you’re planning to use it for guests, temporary housing, or just convenient RV storage, the investment in proper hookups will pay dividends in functionality and convenience.